StimulusReflex is mostly used to create reactive UIs using declarative markup (data-reflex=...), but a lot of power lies in invoking it from client-side code (i.e. stimulus controllers). In this article, we’ll explore how to orchestrate a rather complex interaction between front-end JavaScript code and server-side rendered HTML using the example of drag-and-drop file uploads to ActiveStorage.
1. Preface: App Structure
As this blog post builds on parts of my StimulusReflex Patterns course, there is some app boilerplate I have to explain, but I promise it will be short. The example app I use in my course is a sound design mood board. Consider that our app knows a model called Board, which can hold a couple of Embeds:
# app/models/board.rb
class Board < ApplicationRecord
  has_many :embeds
  accepts_nested_attributes_for :embeds
end

# app/models/embed.rb
class Embed < ApplicationRecord
  belongs_to :board, touch: true

  attribute :uuid, :string

  has_one_attached :media_file
end
There is also a User, which has an instance variable called @embed_templates, let’s assume this is a simple array, which holds empty Embeds:
# app/models/user.rb
class User < ApplicationRecord
  has_many :board_memberships
  has_many :boards, through: :board_memberships

  attr_accessor :embed_templates
end
In our BoardsController, we fetch the board’s embeds, along with the user’s empty embed templates:
# app/controllers/board_templates.rb
class BoardsController < ApplicationController
  #...

  def show
    @embeds = @board.embeds
    @embed_templates = current_user.embed_templates
  end
end
In the board’s show view, we render those successively:
<%= render partial: "embeds/embed", collection: @embeds, locals: {board: board, user: current_user} %>
<%= render partial: "embeds/embed", collection: @embed_templates %>
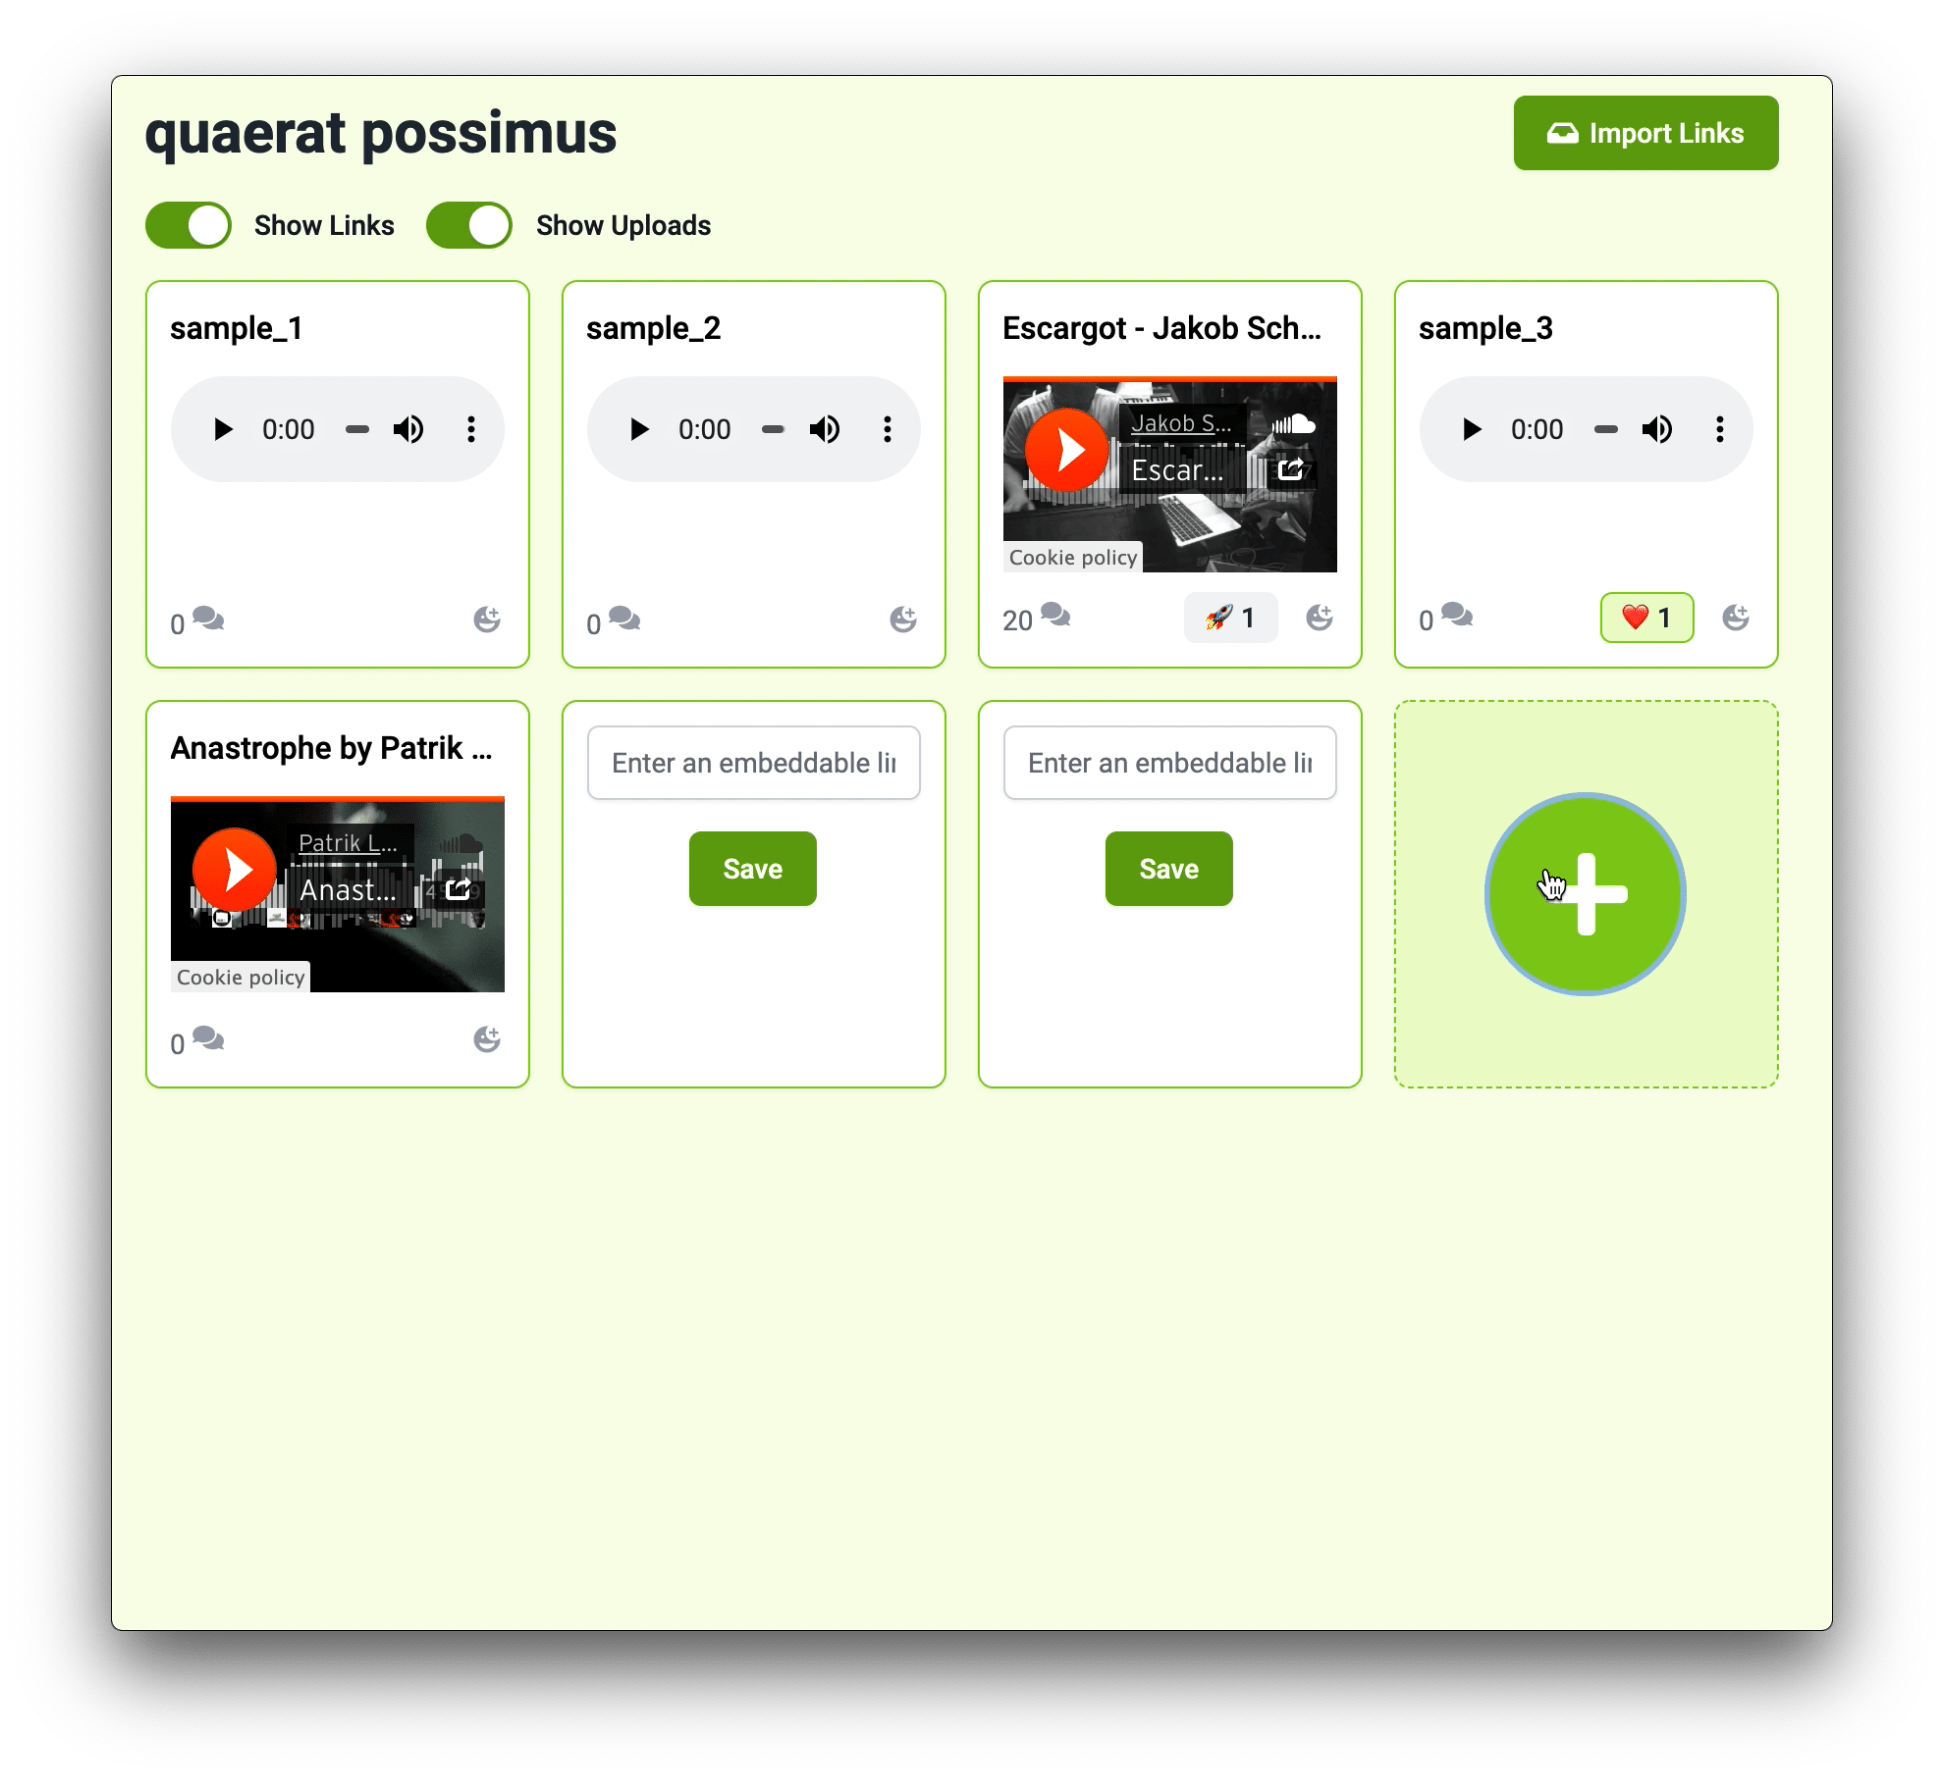
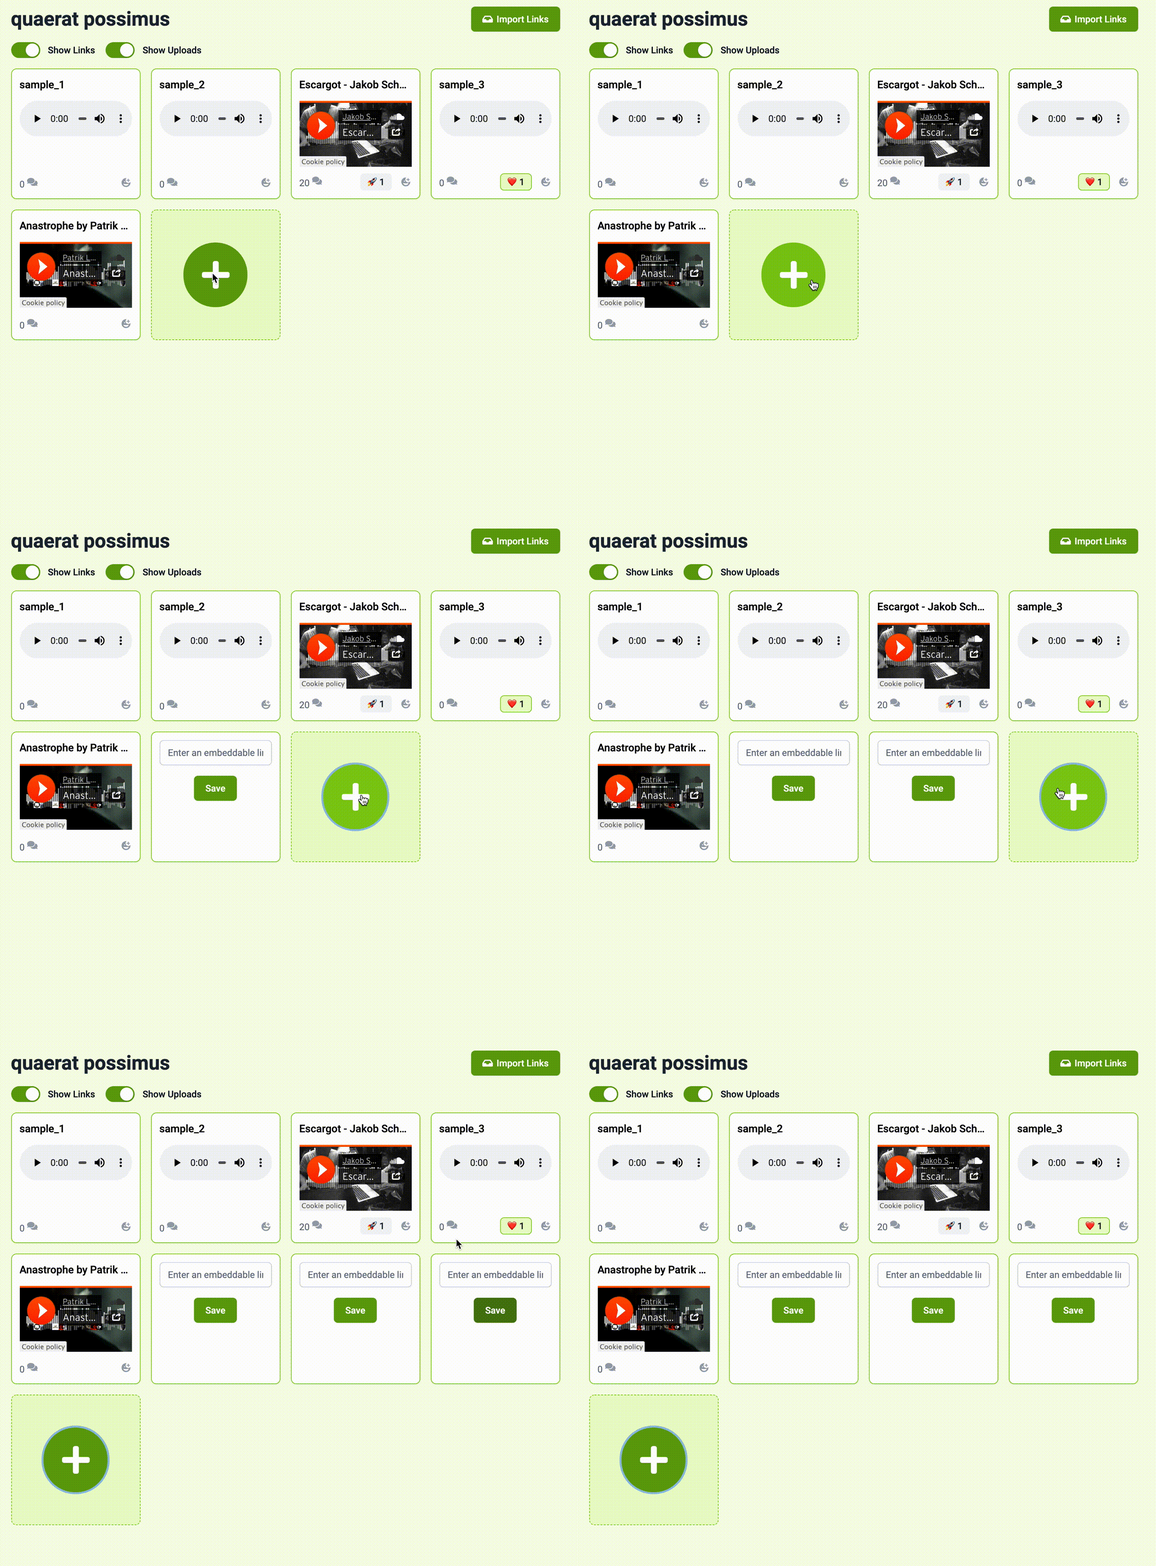
This is a little bit simplified from the actual version, but in principle that’s it. Here’s what that looks like:
How do we add/remove templates to this collection? That’s where StimulusReflex comes in, in the form of a TemplateReflex. When the large “+” button is clicked, it inserts an empty Embed into the user’s embed_templates list, the controller action is invoked, the freshly added templates are rendered, and the DOM patched by CableReady/Morphdom. Pure StimulusReflex bliss ⚡.
# app/reflexes/template_reflex.rb
class TemplateReflex < ApplicationReflex
  def insert
    current_user.add_embed_template_with(board: Board.find(element.dataset.board_id))
  end

  # ...
end
Last but not least, there’s an EmbedReflex, which manages submitting of the form, along with removing superfluous templates:
class EmbedReflex < ApplicationReflex
  after_reflex do
    @embed.board.users.without(current_user).each do |user|
      StreamBoardJob.perform_later(board: @embed.board, user: user)
    end
  end

  def submit
    @embed = Embed.create(submit_params)

    current_user.remove_embed_template_for(uuid: submit_params[:uuid])
  end
end
2. Uploading to ActiveStorage via Drag and Drop
Let’s assume we’d like to upload files to our board, simply by drag-and-dropping them onto our browser tab. The dropzone JavaScript package makes that easy, so let’s add it:
$ yarn add dropzone
I’ll guide you through the process of uploading directly to ActiveStorage step by step. First, to start with we need a new stimulus controller that handles creation and processing of uploads via Dropzone:
// app/javascript/controllers/dropzone_controller.js
import ApplicationController from "./application_controller";
import Dropzone from "dropzone";

export default class extends ApplicationController {
  static values = {
    url: String,
    clickable: Boolean,
    multiple: Boolean,
    boardId: String
  };
  static classes = ["inactive"];
  static targets = ["dropzone"];

  connect() {
    super.connect();

    this.dropzone = new Dropzone(this.dropzoneTarget, {
      autoQueue: false, // <- this is important!
      url: this.urlValue,
      clickable: this.clickableValue,
      uploadMultiple: this.multipleValue,
      previewsContainer: false,
      drop: event => {
        event.preventDefault();

        // process upload here
      }
    });
  }

  disconnect() {
    this.dropzone.destroy();
  }

  activate(e) {
    // code to activate dropzone overlay
  }

  deactivate(e) {
    // code to deactivate dropzone overlay
  }
}
Principally, nothing too fancy is happening here: We are inheriting from StimulusReflex’s ApplicationController and instantiate a new dropzone object in the connect callback. Observe the autoQueue attribute though, which is set to false: This is essential for this example to work! Were it set to true (the default), Dropzone would start uploading files given the enclosing <form> or given url automatically, which is not what we want.
Now we have to add a dropzone element to the markup:
<!-- app/views/boards/show.html.erb -->
<div class="absolute inset-0 z-10 bg-lime-300 bg-opacity-50 opacity-0 transition pointer-events-none"
     data-controller="dropzone"
     data-action="dragover@window->dropzone#activate"
     data-dropzone-inactive-class="opacity-0 pointer-events-none"
     data-dropzone-clickable-value="false"
     data-dropzone-multiple-value="true"
     data-dropzone-board-id-value="<%= @board.id %>"
     data-dropzone-url-value="<%= rails_direct_uploads_url %>">
  <div class="w-full h-full flex flex-col justify-center items-center" data-dropzone-target="dropzone">
    <div class="space-y-6 w-1/2 text-center">
      <h1 class="text-7xl font-bold text-lime-500">Drag files here</h1>
      <i class="fas fa-upload fa-6x text-lime-700"></i>
    </div>
  </div>
</div>
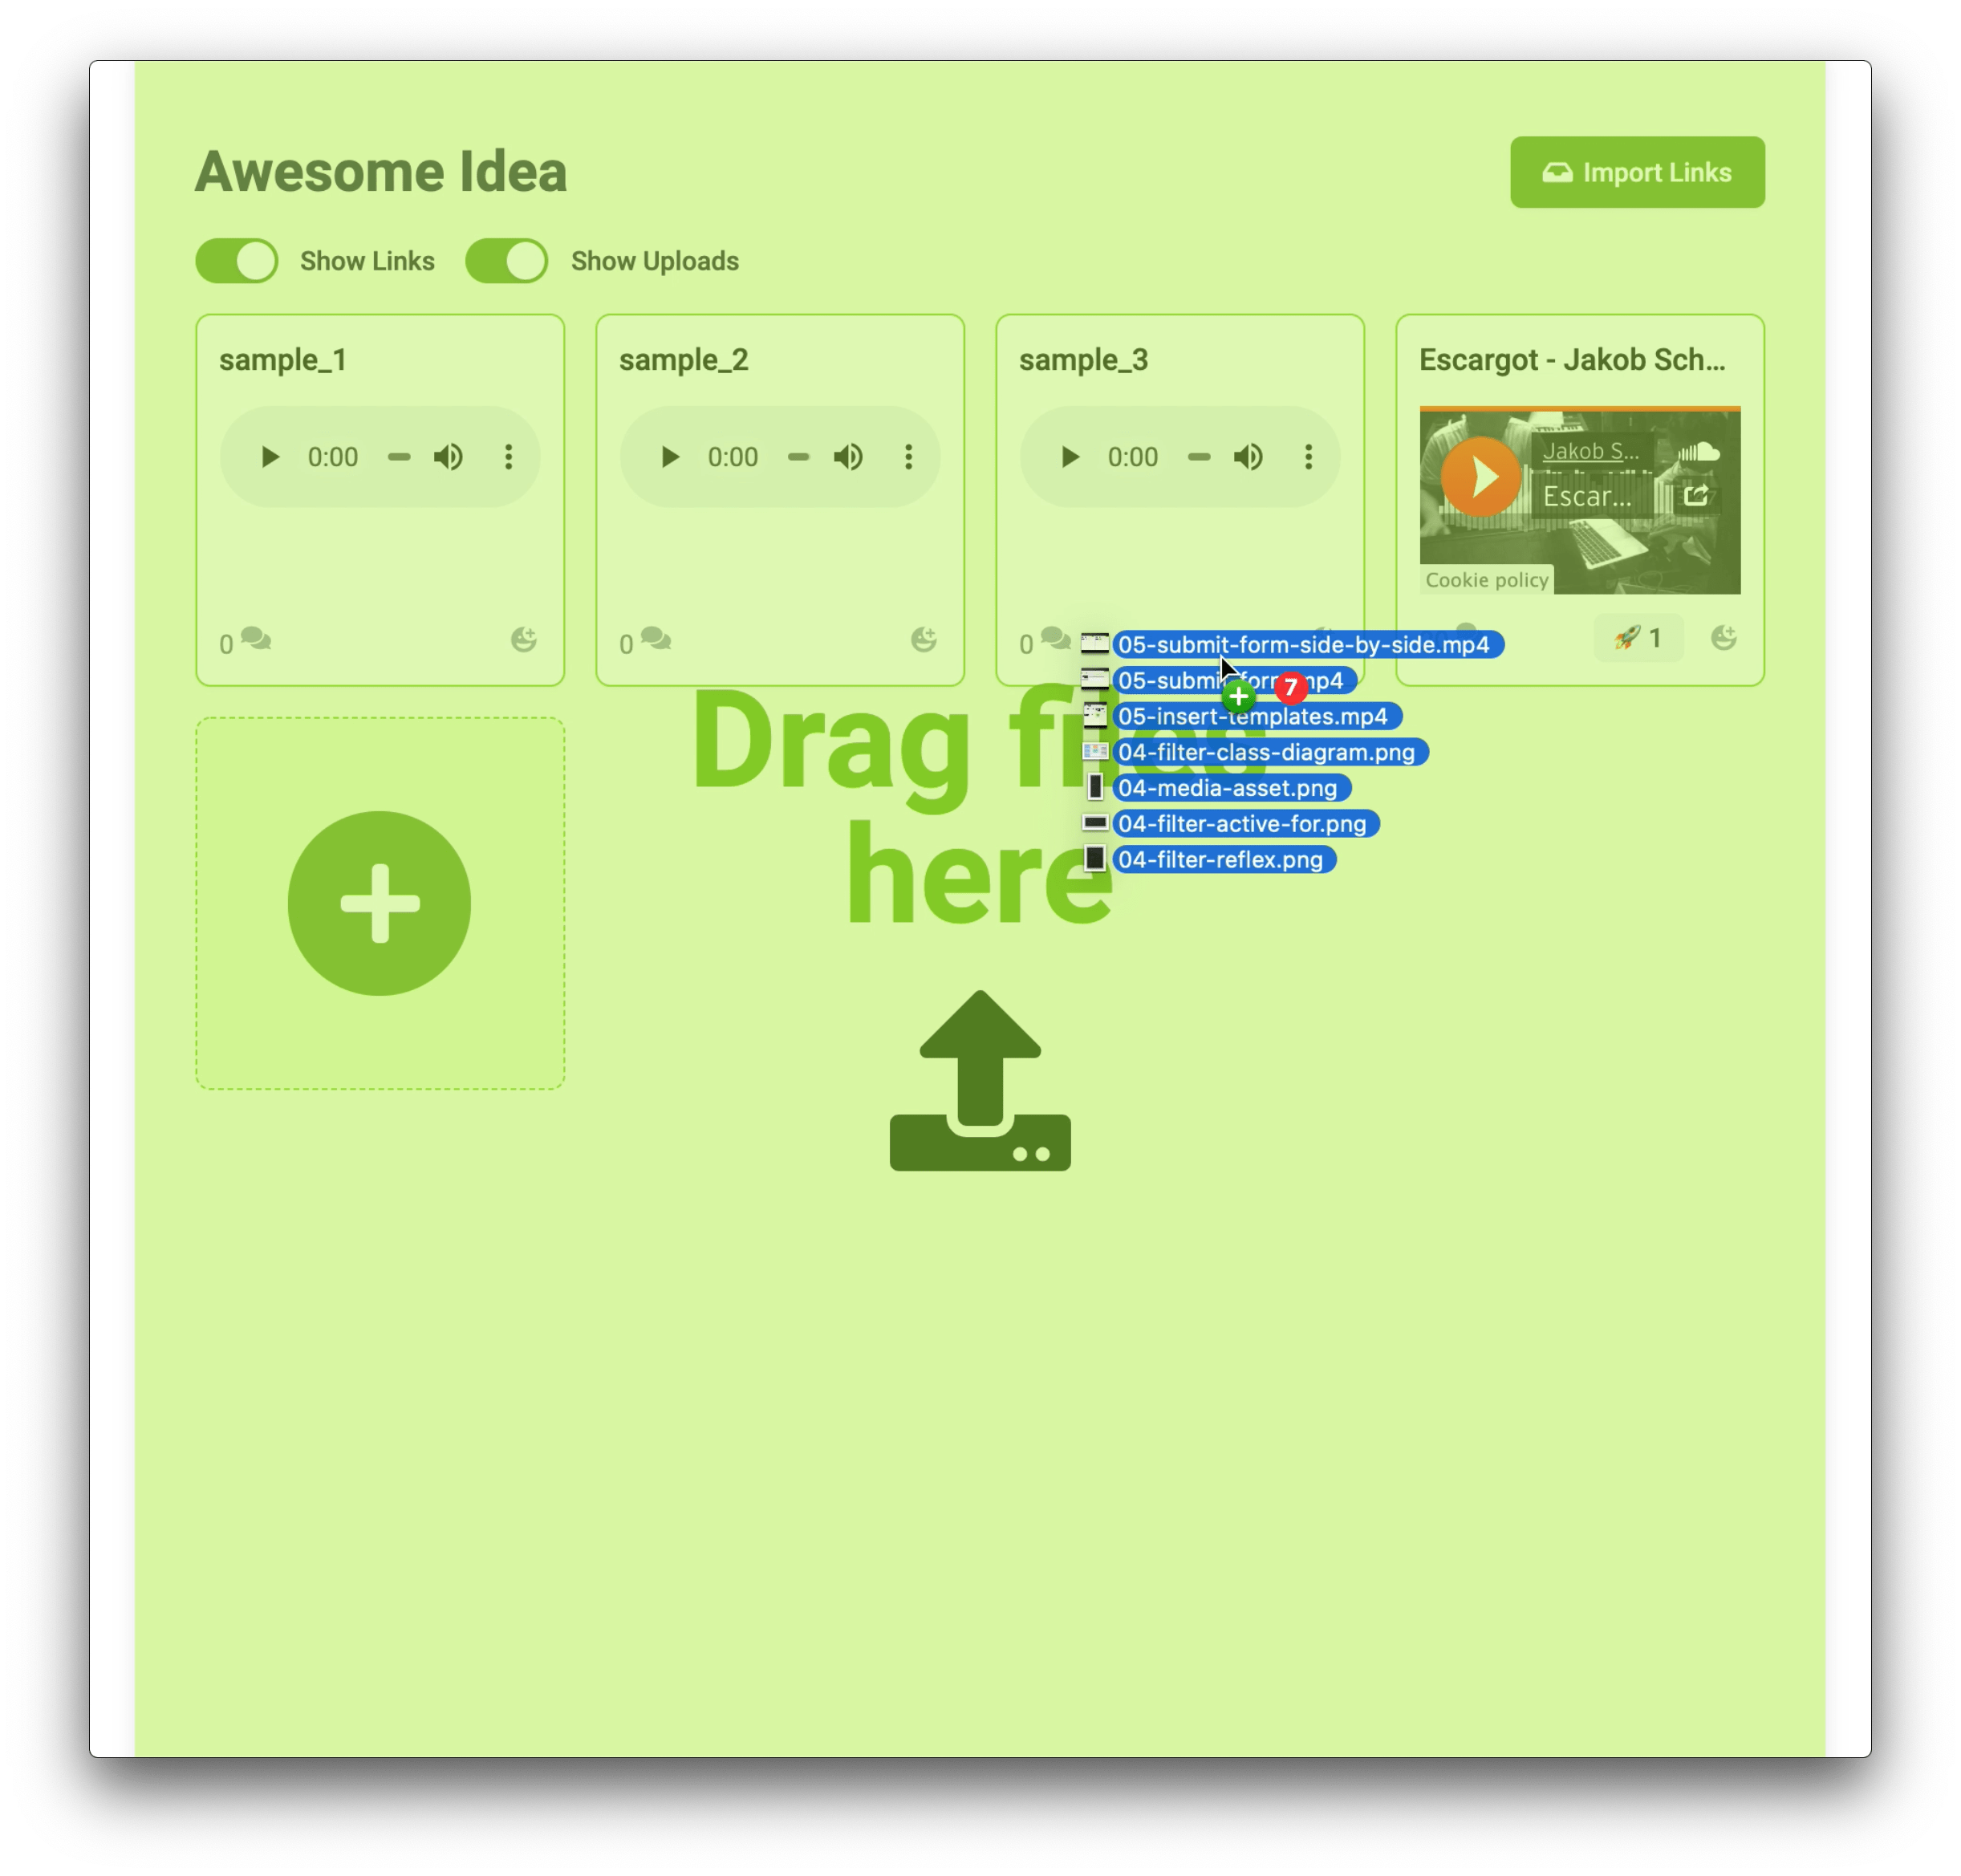
Note that we pass the current board’s ID along with the predefined ActiveStorage rails_direct_uploads_url to the controller. Here’s a screenshot:
Let’s implement the actual uploading next. For this we’ll need the DirectUpload class from ActiveStorage and complete the drop callback:
import ApplicationController from "./application_controller";
import Dropzone from "dropzone";
import { DirectUpload } from "@rails/activestorage";

export default class extends ApplicationController {
  // ...

  connect() {
    super.connect();

    this.dropzone = new Dropzone(this.dropzoneTarget, {
      // ...
      drop: event => {
        event.preventDefault();
        const files = event.dataTransfer.files;
        Array.from(files).forEach(async file => {
          const uploader = new Uploader(file, this.urlValue);

          uploader.process((error, blob) => {
            if (error) {
              // Handle the error
            } else {
              const form = // some way to get the form;
              const hiddenTextField = form.querySelector("input#embed_input");
              hiddenTextField.value = blob.filename;

              const hiddenFileField = form.querySelector("input[type=file]");
              hiddenFileField.setAttribute("type", "hidden");
              hiddenFileField.setAttribute("value", blob.signed_id);

              this.stimulate("Embed#submit", form);
            }
          });

          this.deactivate();
        });
      }
    });
  }
}
What happens, in principle, is the following:
- We fetch the list of
filesfrom the drop event’s dataTransfer attribute, and iterate over it. - For each, we create a new instance of
Uploader(we’ll take a look at that in a second), and pass a callback to itsprocessmethod. - In it, we obtain the embed’s
form(I have deliberately excluded the method to obtain the form, we’ll get to it), decorate it with theblob’s signed id and filename (the general process is documented in the Rails ActiveStorage guide) - And submit it via a reflex (
Embed#submit), which will refresh the page with the newly inserted embeds
What’s in that Uploader class? It wraps ActiveStorage’s DirectUpload, passing itself as a delegate for event callbacks that we can use to display information about the upload’s state, such as progress, etc. We’ll deal with that later, the actual upload is dispatched by this.upload.create, which is passed the callback from above:
class Uploader {
  constructor(file, url) {
    this.upload = new DirectUpload(file, url, this);
  }

  process(callback) {
    this.upload.create(callback);
  }

  directUploadWillStoreFileWithXHR(request) {
    request.upload.addEventListener("progress", event =>
      this.directUploadDidProgress(event)
    );
  }

  directUploadDidProgress(event) {
    // display progress somehow
  }
}
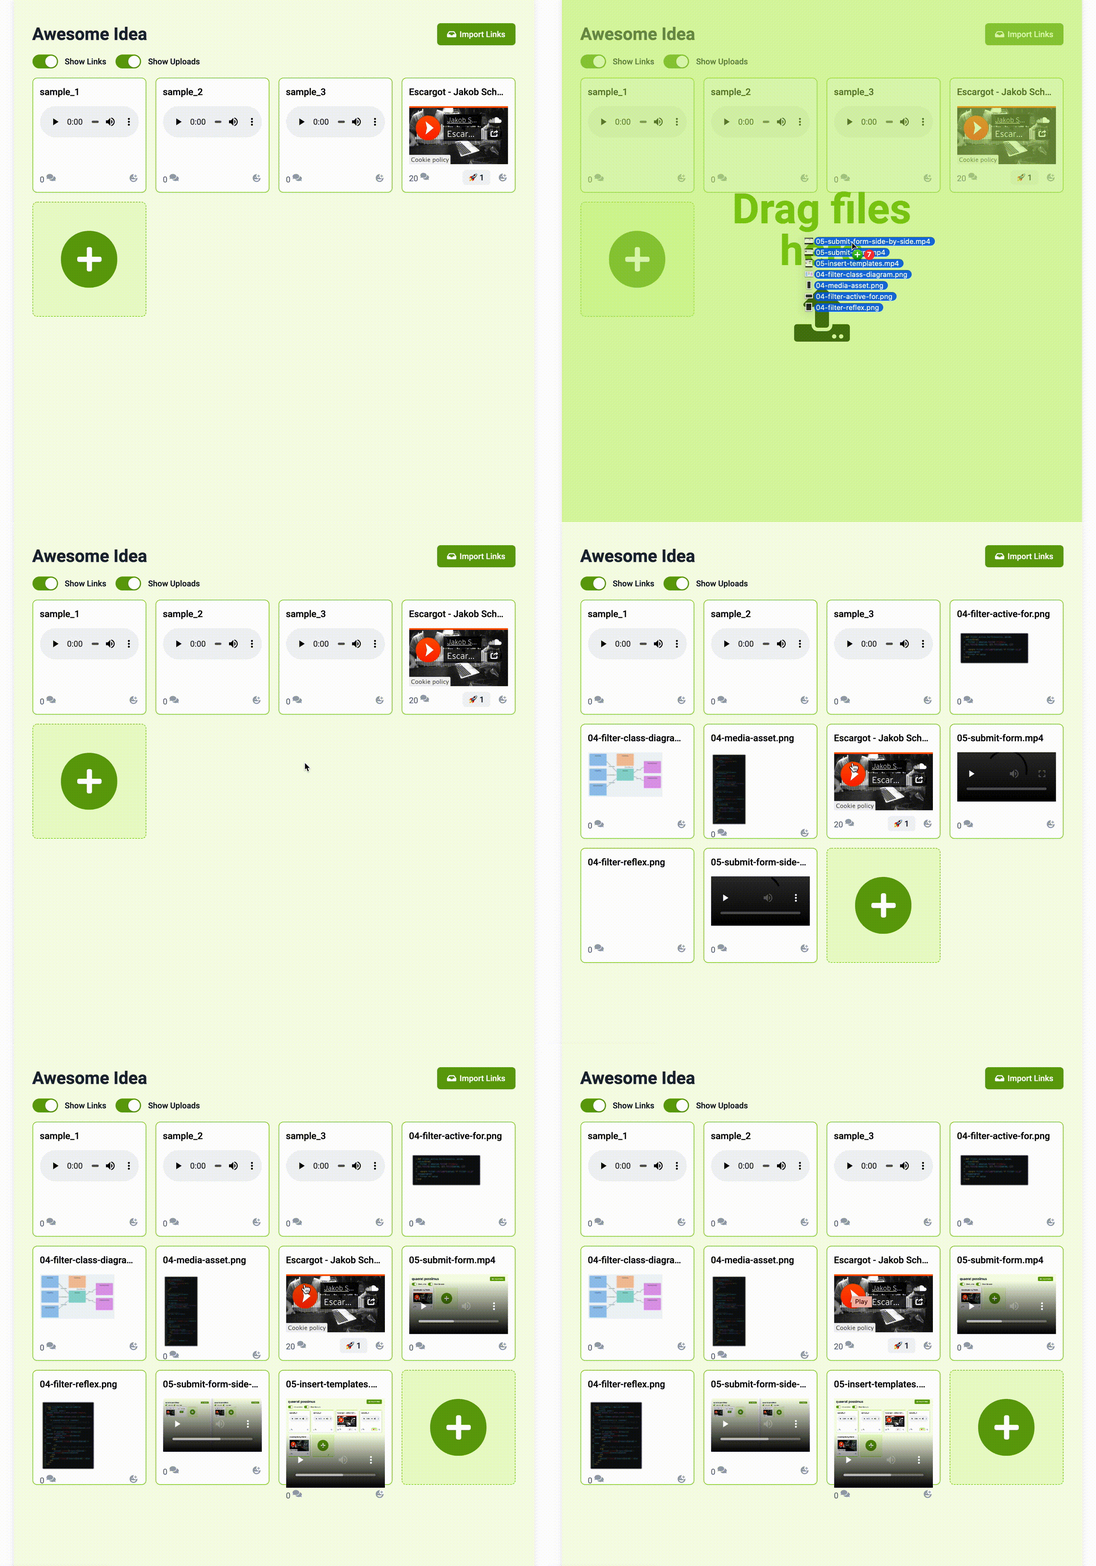
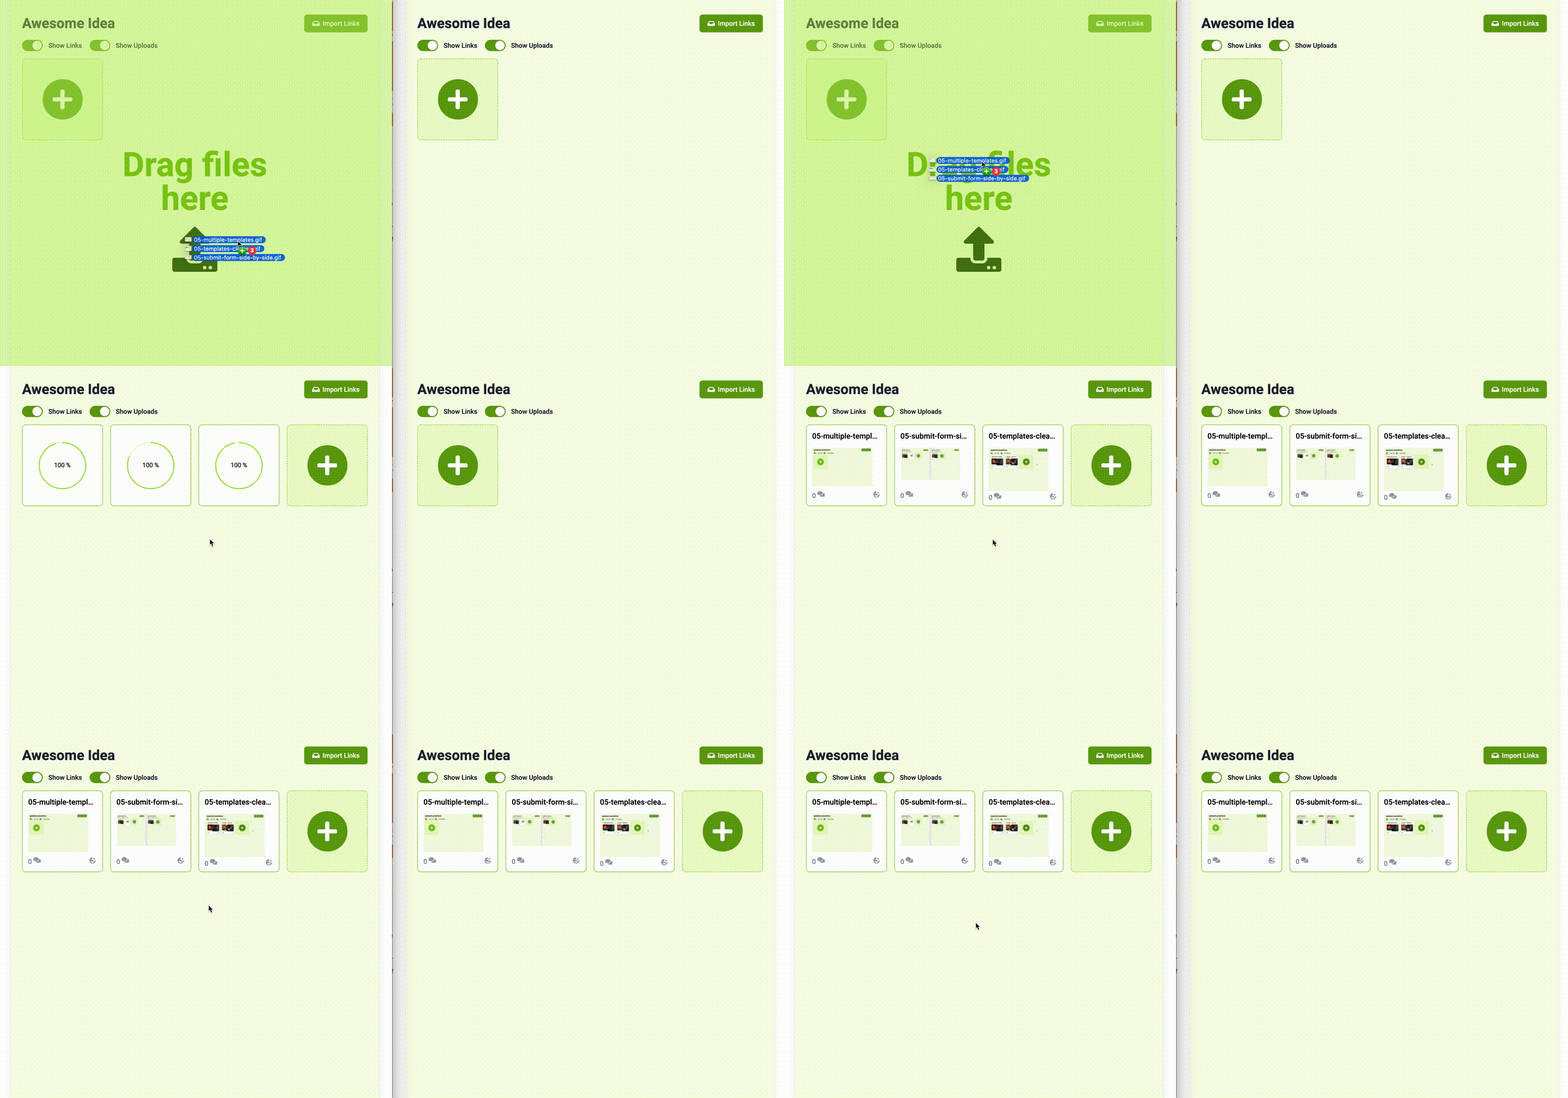
Now we’re ready to spin this up for a test:
3. Managing the DOM with StimulusReflex
Now it would be nice to provide some feedback to the user, as long as her uploads are running. This is exactly what the above mentioned progress callbacks are for, but we need to actually prepare the DOM for it first. Dropzone has some built in facilities for this, but we’ll leverage the fact that we already have a decent mechanism for providing blank embed templates with StimulusReflex (hence the previewsContainer: false when creating our Dropzone instance).
Caution: The techniques displayed in this section at the time of writing are available only on the StimulusReflex
masterbranch!
If you scroll up to the very beginning of this article, you’ll notice that the User model has a transient uuid attribute, and that’s for a reason I will explain now. In the user’s add_embed_template_with convenience method, we furnish the Embed with a uuid that is DOM-ID safe (hence the prepending of “U”), and return it.
# app/models/user.rb
class User < ApplicationRecord
  # ...

  def add_embed_template_with(**args)
    new_embed = Embed.new(uuid: "U#{SecureRandom.urlsafe_base64}", **args)
    embed_templates << new_embed.as_json
    new_embed
  end
end
In the TemplateReflex, we utilize the freshly added return capability 🚀 of reflexes to send the empty embed back as a payload (n.b., with the uuid!):
# app/reflexes/template_reflex.rb
class TemplateReflex < ApplicationReflex
  def insert(board_id = element.dataset.board_id, upload = false)
    embed = current_user.add_embed_template_with(board: Board.find(board_id), upload: upload)
    self.payload = embed.as_json
  end

  # ...
end
Now we can stimulate this reflex in our dropzone callback and obtain the uuid back from the returned Promise. Thus we can actually address the form, which I’ve yet kept back:
import ApplicationController from "./application_controller";
import Dropzone from "dropzone";
import { DirectUpload } from "@rails/activestorage";

export default class extends ApplicationController {
  // ...

  connect() {
    super.connect();

    this.dropzone = new Dropzone(this.dropzoneTarget, {
      // ...
      drop: event => {
        event.preventDefault();
        const files = event.dataTransfer.files;
        Array.from(files).forEach(async file => {

          // stimulate the reflex and wait for the promise to return
          const insertResp = await this.stimulate(
            "Template#insert",
            this.element,
            this.boardIdValue,
            true
          );

          // obtain the UUID
          const uuid = insertResp.payload.uuid;
          const uploader = new Uploader(file, this.urlValue, uuid);

          uploader.process((error, blob) => {
            if (error) {
              // Handle the error
            } else {
              const form = document.querySelector(`#${uuid}_embed form`);

              // form submission, see above
            }
          });

          this.deactivate();
        });
      }
    });
  }
}
For reference, this is the hidden form which is included in our _embed.html.erb partial, and can thus be retrieved by our client-side code above:
<!-- app/views/embeds/_embed.html.erb -->
<div class="hidden">
  <%= form_for([embed.board, embed], remote: true, data: {resource: "Embed"}) do |form| %>
    <%= form.hidden_field :input %>
    <%= form.hidden_field :uuid %>
    <%= form.file_field :media_file %>
  <% end %>
</div>
Now everything just falls in place: The dropzone controller can pick up the form, complete it with the properties returned by DirectUpload, and submit the form. At this very point, we get a sense of what the final solution will look like: have StimulusReflex handle the DOM patching (which is done with 2 (!) reflex actions) and DirectUpload the actual processing of uploads. A last concern is still missing, and that’s feedbacking the upload progress to the user.
4. Displaying Upload Progress
First, we’ll add a custom SVG element to our _embed.html.erb partial:
<svg class="w-3/4 h-3/4" viewBox="0 0 200 200" version="1.1" xmlns="http://www.w3.org/2000/svg">
  <g transform="rotate(-90 100 100)">
    <circle class="stroke-current stroke-4 text-lime-100" r="90" cx="100" cy="100" fill="transparent" stroke-dasharray="565.48" stroke-dashoffset="0"></circle>
    <circle class="stroke-current stroke-4 text-lime-400 transition-all duration-500" id="bar" r="90" cx="100" cy="100" fill="transparent" stroke-dasharray="565.48" stroke-dashoffset="565.48"></circle>
  </g>
  <text id="percent" x="50%" y="50%" dominant-baseline="middle" text-anchor="middle" class="stroke-current text-lime-800 text-2xl">0 %</text>
</svg>
Basically it’s comprised of two superpositioned circles with different stroke-dashoffsets to visualize the upload progress, see this codepen.
Now we can pass the uuid into the Uploader to grab the svg and update it in the directUploadDidProgress callback:
class Uploader {
  constructor(file, url, uuid) {
    this.upload = new DirectUpload(file, url, this);
    this.uuid = uuid;
  }

  process(callback) {
    this.upload.create(callback);
  }

  directUploadWillStoreFileWithXHR(request) {
    request.upload.addEventListener("progress", event =>
      this.directUploadDidProgress(event)
    );
  }

  directUploadDidProgress(event) {
    const factor = event.loaded / event.total;
    const progressBar = document.querySelector(`#${this.uuid}_embed #bar`);
    const percent = document.querySelector(`#${this.uuid}_embed #percent`);

    const totalCircumFerence = progressBar.getAttribute("stroke-dasharray");

    progressBar.setAttribute(
      "stroke-dashoffset",
      totalCircumFerence * (1 - factor)
    );

    percent.textContent = `${Math.round(factor * 100)} %`;
  }
}
We calculate a factor using event.loaded and event.total, then update the stroke-dashoffset attribute on the circle, and display it as a text node for convenience. Here’s the end result:
5. Conclusion
In this article, I’ve shown how to efficiently intertwine the use of StimulusReflex and third party JavaScript libraries to arrive at compelling user experiences. The case of a drag-and-drop upload solution lent itself well to describe a rather complex interaction of front-end techniques with server-rendered HTML over the wire. Some key takeaways:
- calling
this.stimulatefrom a stimulus controller is a secret weapon, don’t get stuck with invoking reflexes from markup only - page morphs (the default morph mechanism) are a perfect way to patch the DOM without disrupting other client-side interactions (just remember not to disconnect your controllers!), and they keep both your view templates and your server-side business logic intelligible
- we saw a sneak peak of what payloads (available now on edge StimulusReflex, or in the next minor release) are capable of by simplifying the round trip of passing information back to the client.
If you want to learn more about StimulusReflex:
- read the exhaustive and entertaining documentation
- join our vibrant community on discord
- check out Jason Charnes’ beginner-friendly course, or
- my own intermediate course covering advanced use cases such as this.

